

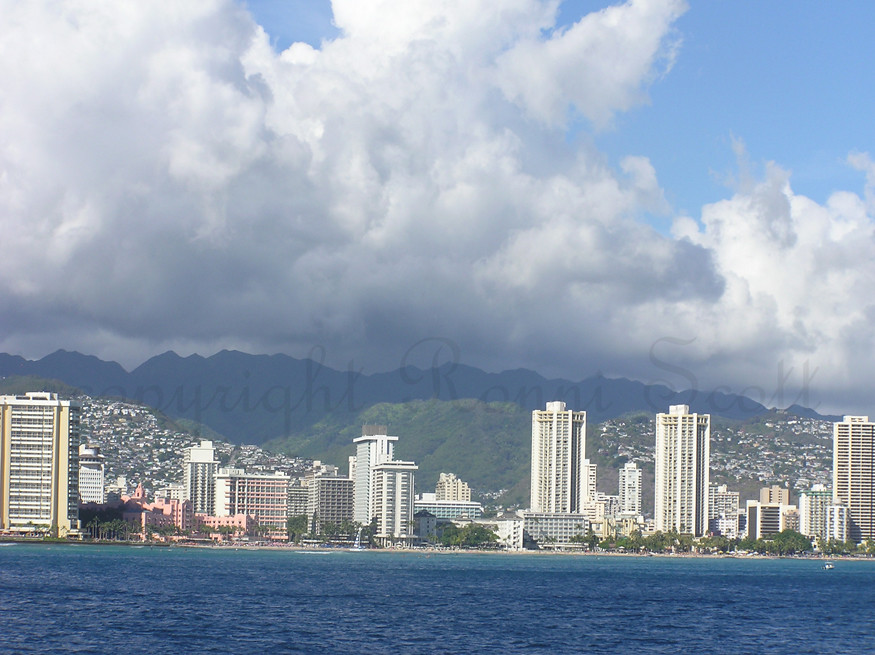
My mom and stepdad recently went to Hawaii! I've always wanted to go...maybe one day.
Anyway, this photo is theirs but they let me do some editing on it.
I'm sure most of you have seen these "planets" all over the photo blog world!
I just decided it belonged in outerspace.
;)
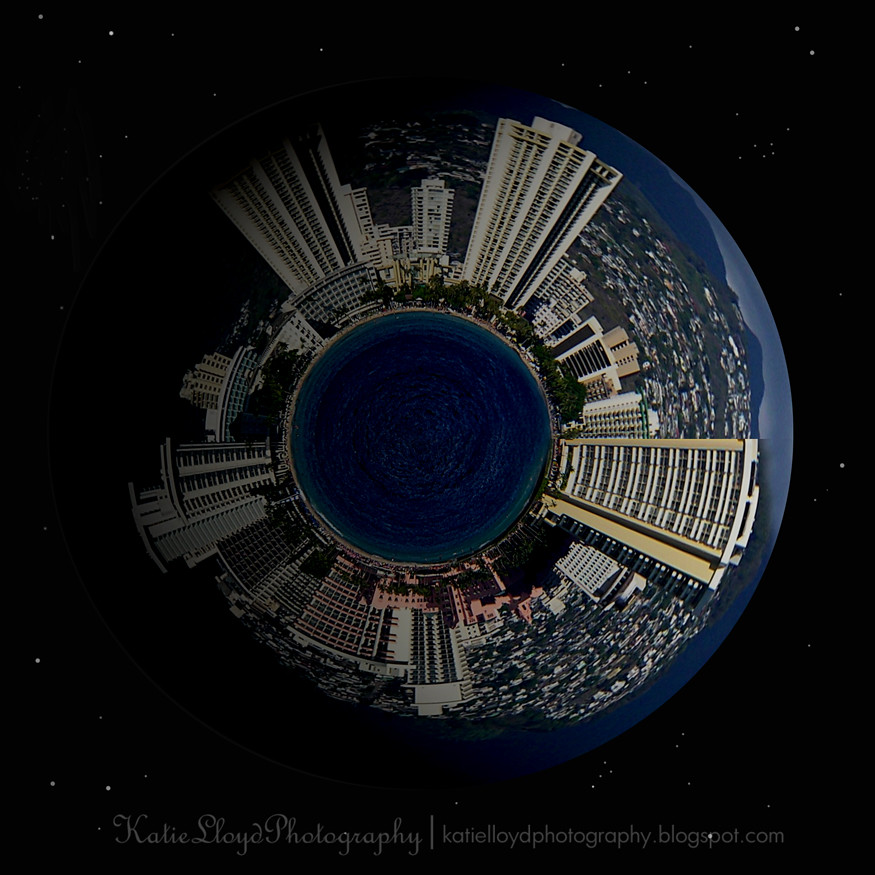
I use PSE 8 and this is how I did it:
Step 1: Follow this tutorial to get the basic planet look.
Step 2: Using the circle selection tool, cut out a perfect circle planet.
Step 3: Paste the cutout into a new layer.
Step 4: Turn the background layer into an editable layer by double clicking on it.
Step 5: Using the fill bucket tool, paint the background black. Then paint in "stars" using a low opacity brush - I used about 35%.
Step 6: Adjust lighting levels to your liking. Filter > Render > Lighting Effects.
Step 7: Make a duplicate layer of your planet, lighten the whole thing by using levels. Enhance > Adjust Lighting > Levels.
Step 8: Move your duplicate layer behind the original plnet layer.
Step 9: Ever so slightly shrink the original planet layer and adjust so that only a sliver of light peaks out from behind the planet.
Step 10: Merge and flatten.

__________
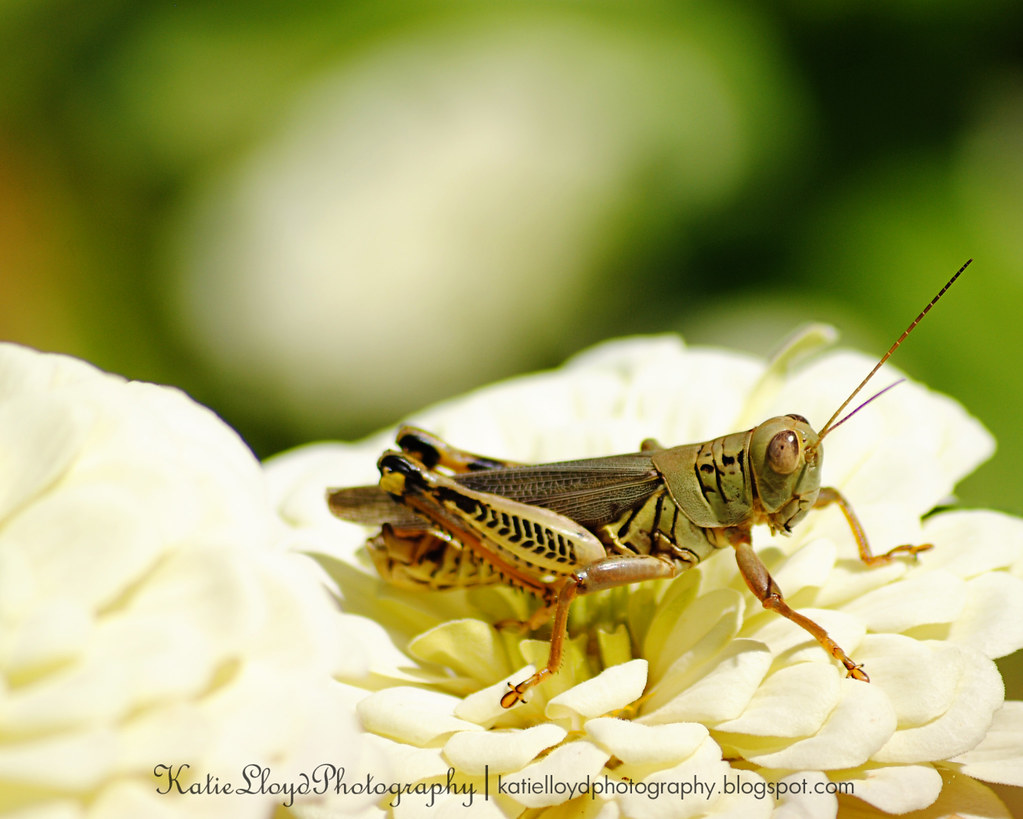
For some reason, I feel that this little guy is giving me the "if I don't move, maybe she won't see me" look!
What do you think?

Anyway, this photo is theirs but they let me do some editing on it.
I'm sure most of you have seen these "planets" all over the photo blog world!
I just decided it belonged in outerspace.
;)
I use PSE 8 and this is how I did it:
Step 1: Follow this tutorial to get the basic planet look.
Step 2: Using the circle selection tool, cut out a perfect circle planet.
Step 3: Paste the cutout into a new layer.
Step 4: Turn the background layer into an editable layer by double clicking on it.
Step 5: Using the fill bucket tool, paint the background black. Then paint in "stars" using a low opacity brush - I used about 35%.
Step 6: Adjust lighting levels to your liking. Filter > Render > Lighting Effects.
Step 7: Make a duplicate layer of your planet, lighten the whole thing by using levels. Enhance > Adjust Lighting > Levels.
Step 8: Move your duplicate layer behind the original plnet layer.
Step 9: Ever so slightly shrink the original planet layer and adjust so that only a sliver of light peaks out from behind the planet.
Step 10: Merge and flatten.
__________
For some reason, I feel that this little guy is giving me the "if I don't move, maybe she won't see me" look!
What do you think?