Showing posts with label Before and After. Show all posts

Thursday, July 28, 2011

Cherries Jubilee


Before:
cherries-jubilee-sooc


After:
bowl-of-cherries-2


Photobucket  and then, she {snapped}


cherries-jubilee-sooc bowl-of-cherries-2

For this edit I ran Nelly Nero's Blush action.
{I'm pretty sure}
As well as boosted the fill light and saturation.
Then I cropped slightly to get rid of the bare floor in the upper right corner.

Thursday, July 14, 2011

Take Me Out to the Ballgame


This is a photo from several weeks ago.
It's just taken me until now to share it...


Before:
ball-game-sooc


After:
ball-game-in-70s


I really didn't do too much to this shot. I removed the Hy-Vee branding from the blue roof and then ran a seventies/vintage action on it.

For some reason baseball shots just seem to need a bit of 70's added in for it to feel right!


Thursday, June 23, 2011

Before & After - Bench


I shared a clean edit of this bench a few days ago for Scavenger Hunt Sunday.
I know the focus is off - and not in a good way, but I really like the image all the same. Today I wanted to share a much different look for this image.

Before:
2011-06-13_Arboretum_0279


After:
benches-2


beforeandafterTOPANDBOTTOM

I use PSE 8 to edit and may have done the following:
(please note that my memory is awful and these steps are not necessarily in order...or accurate.)

1. Add some kind of Kim Klassen texture...I think.
2.  Adjust hue to be a bit more red (this I know I did!)
3. Possibly lightened midtones with levels.


Thursday, June 16, 2011

Fluffy Towels & Pretty Irises


kids-in-tub

This is my grandparents' bathroom. It's painted a vintage carnation pink and my grandma even has mint green towels to complete the retro feel! I personally enjoy retro spaces, but what makes this even better for me is that my great grandma - this particular grandma's mom - also had a vintage carnation pink bathroom. It brings back such sweet and loving memories and I can only hope and pray when my own children are grown, they will have similarly fond memories of their great grandma.

I'm also linking this shot to Texture Thursday because of those towels...boy, were they super soft!!

Photobucket The Daily Wyatt


And below is my entry for Pixel Perfect's Before & After:

Before:
irises-by-pond-sooc


After:
irises-by-pond


irises-by-pond-sooc irises-by-pond


Step 1: Run PW's Boost action, merge visible
Step 2: Run PW's Heartland action, reduce opacity to 75%
Step 3: Increase saturation to +66, merge all and save


Thursday, June 9, 2011

The Ants Go Marching One by One


The other day I was sitting on our deck while the kids played in the pool and noticed a lone ant coming toward me. He was on a mission and determined to cross my path.


Ant-8x10


...and here's the before...
Ant-sooc


Ant-sooc Ant-8x10


All I did to this was crop and run PW's Heartland action.
Bada-bing!


PS - That first sentence sounds much better than it really is...the pool is a blow up one, slightly bigger than a bathtub. And those tiny specks of blue are paint that was meant to be only on the house. But I think it adds a little somethin' to the shot. Don't you?


Thursday, February 24, 2011

Winter Berry Silhouettes


Where have the past two weeks gone?! 
It seriously flew right by me. 

I've had every intention of participating in the various challenges with their various themes - I've put them on my calendar and even brainstormed ideas for the specific themes - but then each day comes and goes and I've somehow missed it.

What I have been doing is a lot of housework and lots of games with my kids, as well as some serious work and prep with my Etsy shop, MommyMakes.
(Psst! I'll let you in on a little secret...starting March 1st there will be a giveaway on my family blog as well as some pretty great sales in the shop during the entire month of March!)

It's been pretty wonderful, but I'd be lying if I said I haven't missed the fabulous community of photo bloggers!
You girls (and any guys out there) are wonderful!!

***

So today I am finally posting something!!!

This is a shot from the other day, when my kids almost literally dragged me out of the house and to the park in the 30-some degree weather. I'm not a fan of cold, even though I've spent my entire life in the midwest. But, as happens quite frequently in this scenario, I ended up enjoying my time in the great outdoors and was even able to get some ok shots!


Before:
Berries - SOOC
As you can see, the before shot was waaaaay underexposed.
But I saw some promise in it and just couldn't hit 'delete'!


After:
Berries - 8x8
Much more moody and somber than the many springtime images that are beginning to emerge, but I like it all the same. ;)


Berries - SOOC Berries - 8x8

I use PSE 8 to edit, but can't remember the exact steps I did.
Mainly, I duplicated the background layer multiple times and adjusted them to screen and hard light. Then I cropped to 8x8. 


Thursday, February 10, 2011

Before & After: Using the Recompose Tool in PSE


Lately I've been working on expanding the list of tools I use in Photoshop Elements. One of the more recent tools I've started using is the recompose tool. 

This thing is awesome!

I'm sure some of you already use this, but I'm also sure many of you don't.
If you're anything like me, it looks and sounds a bit intimidating.
But trust me, it is simple!


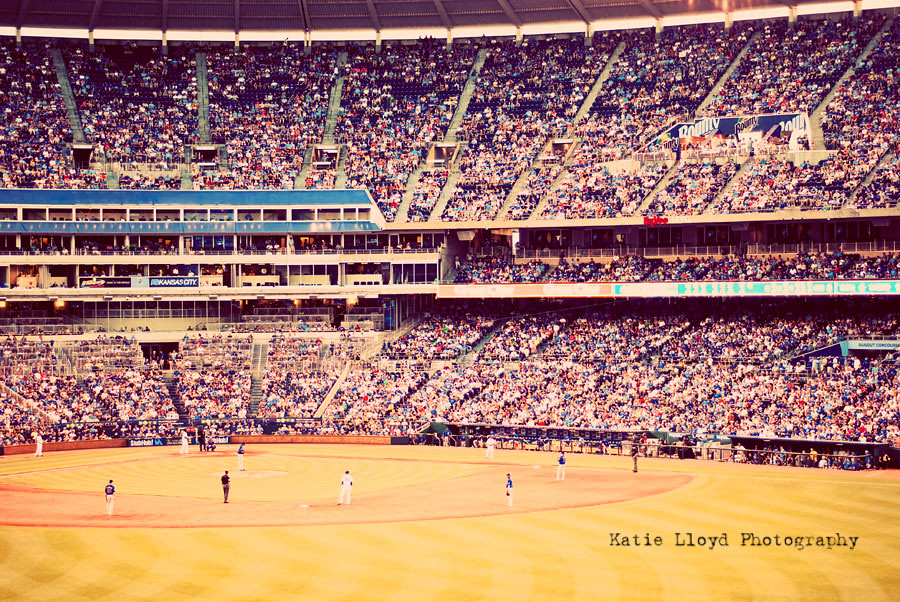
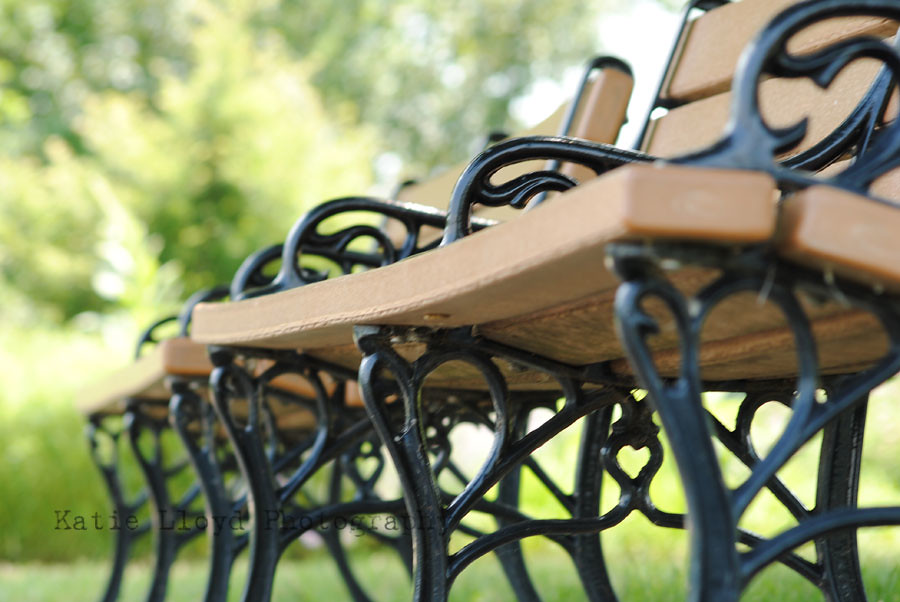
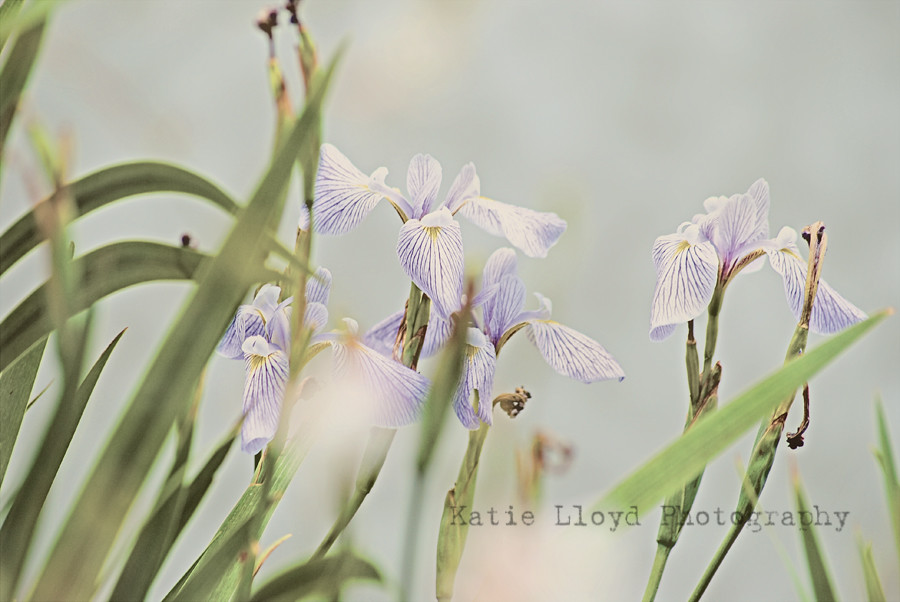
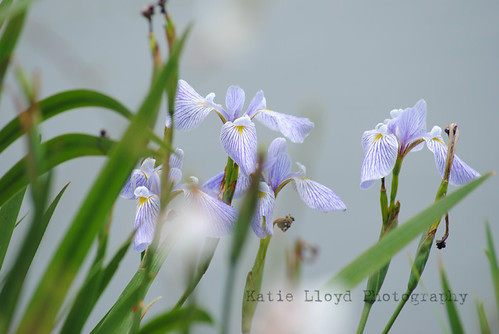
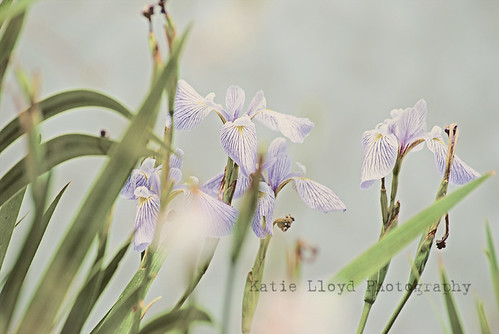
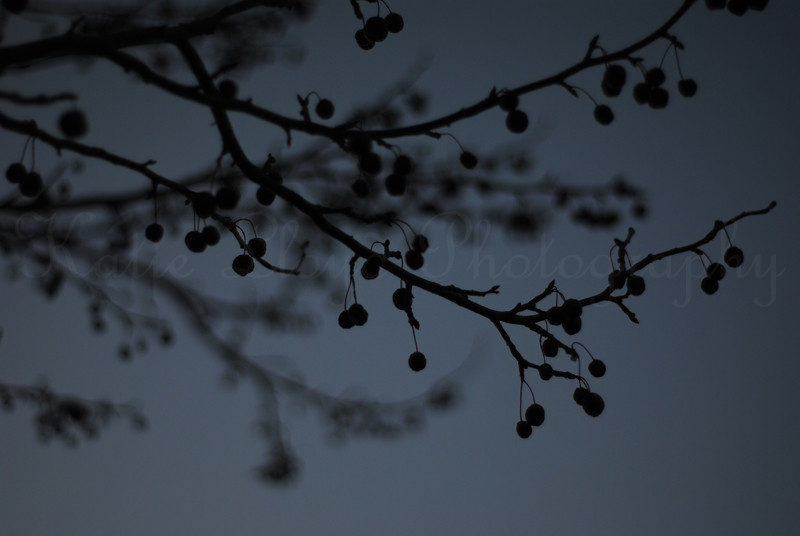
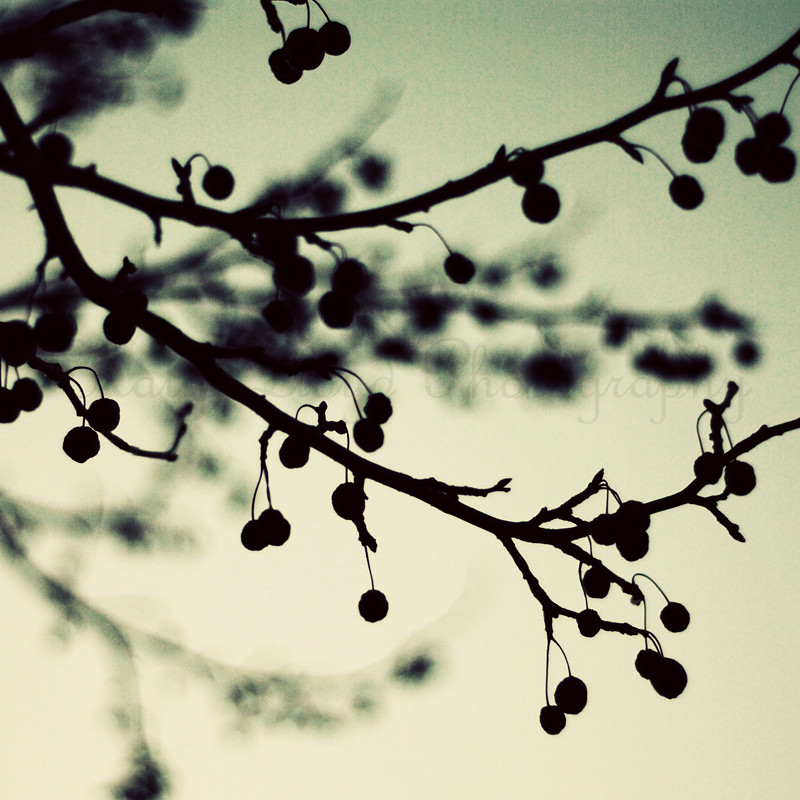
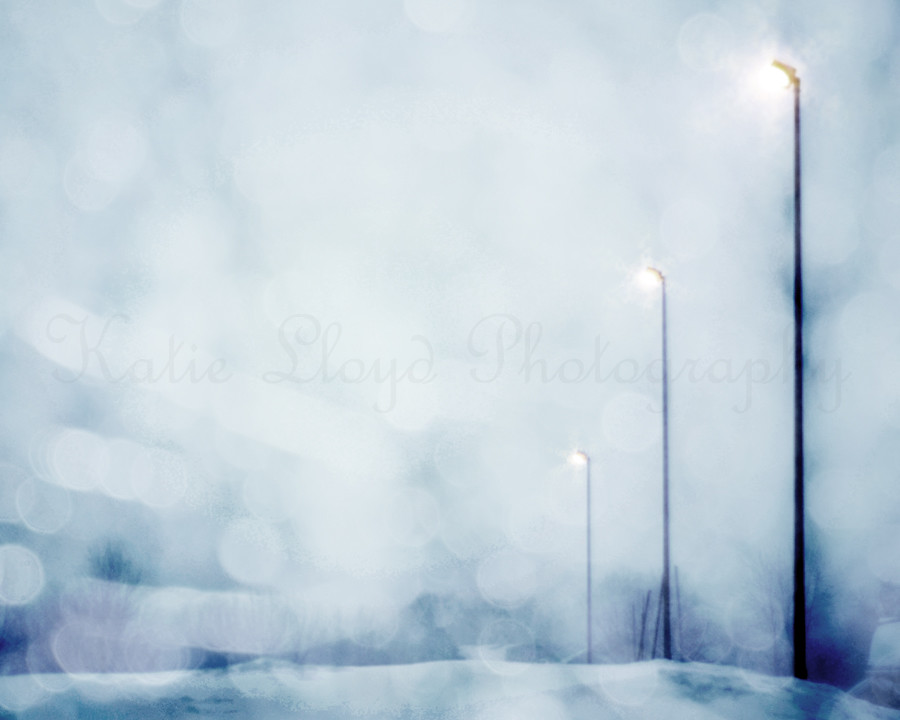
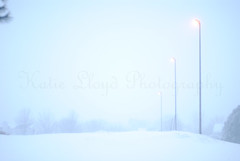
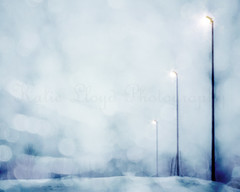
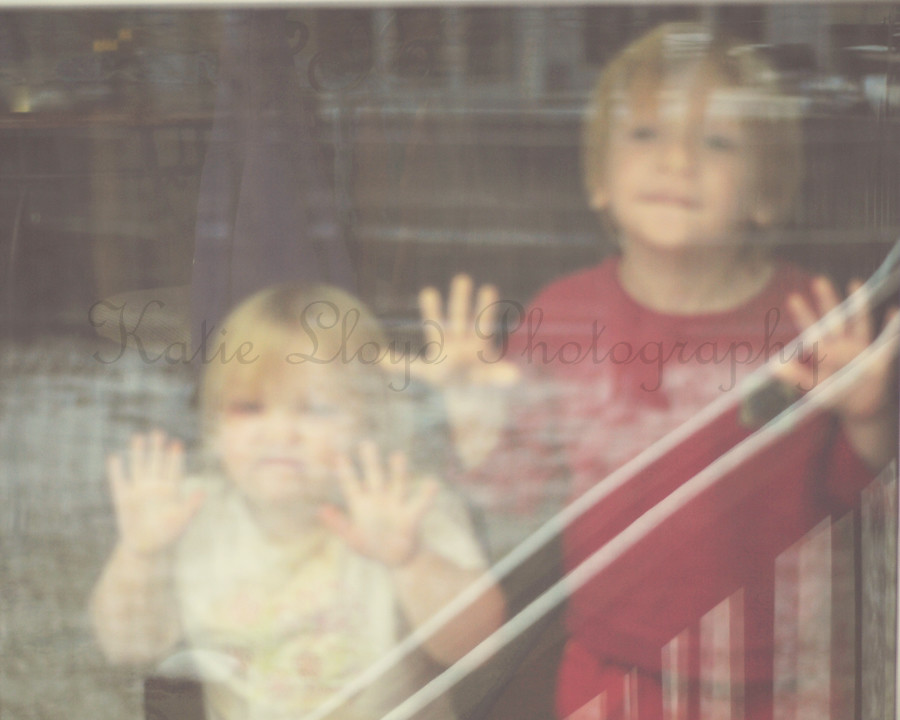
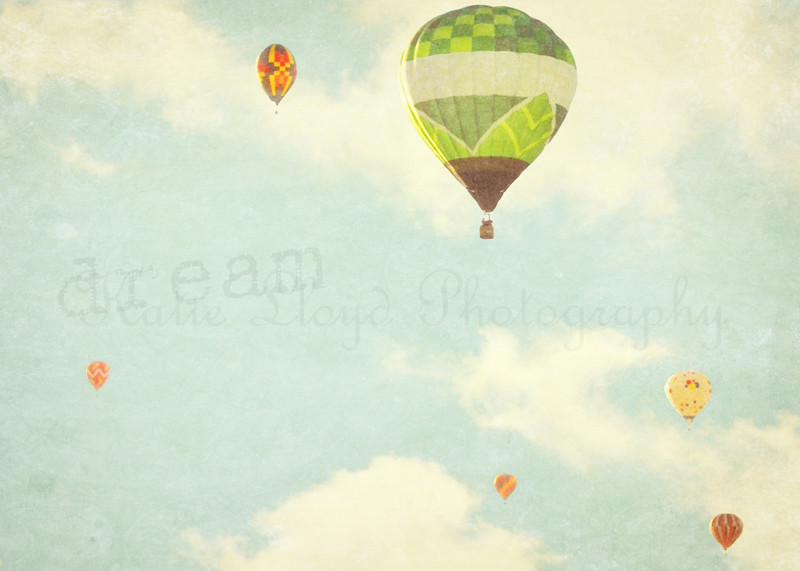
I took the following two images plus a texture and threw them all together. Then I added a bit of text.
hot-air-balloon-orig---wm clouds-wm


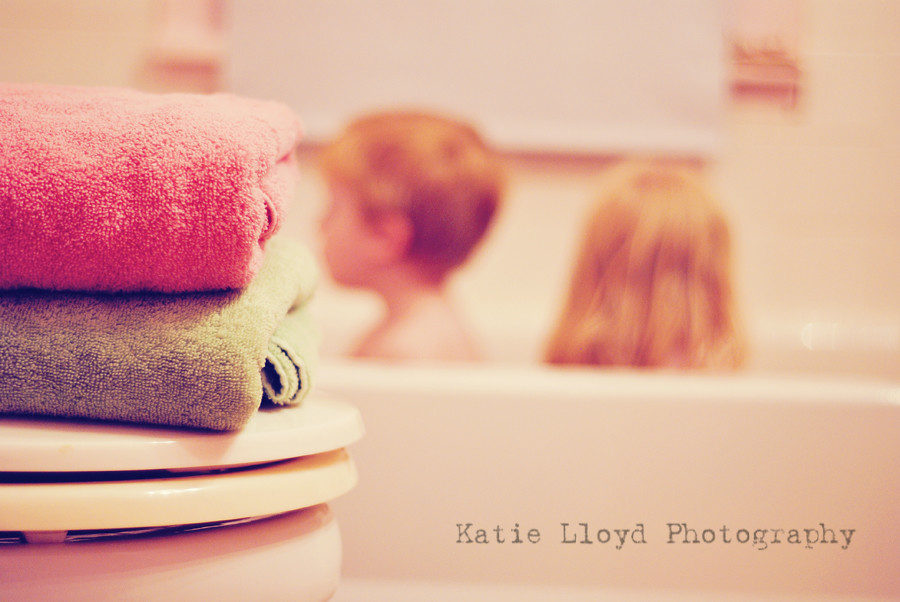
And this is the final product:
Hot-Air-Balloons---5x7-wm

As I mentioned above, I use PSE 8.

I took a LOT of very in-depth steps to get to my final image.
(If you want to know the exact path and steps I took, let me know and I'll make a screen shot tutorial of it.)

Once I had everything just how I wanted it, I realized my image was composed in such a way that I was not able to retain all of the balloons if I cropped it to the size I wanted.

Enter the handy dandy - recompose tool!

To get to it, click on the tiny expand arrow in the lower right hand corner of the crop tool.
You can also get to it by hitting C on your keyboard...you'll probably need to hit the C key twice.
balloon-edit-ss8

Click on the recompose tool.
(if your computer is slow like mine, it may take a little while for it to go)
You'll now most likely see a pop up window asking how you want to use the tool.

If this is new for you, you'll probably want the first option - sorry I can't remember what it's called...I have that pop up box turned off.
After clicking the first option in that box, you'll get a crop box around your image. I personally have better success when I manually drag the sides to the approximate size I want. You can also go up to the options bar at the top of PSE and adjust from there, but I find it to be too temperamental for my patience.

For this particular image, I pulled the bottom side up until it was about where I thought it should be.

All you need to do at this point is let go of your mouse or touch pad. PSE will do the rest!
If you like what you see, click the check box in the bottom right. If not, click the X box...just like you do when cropping.

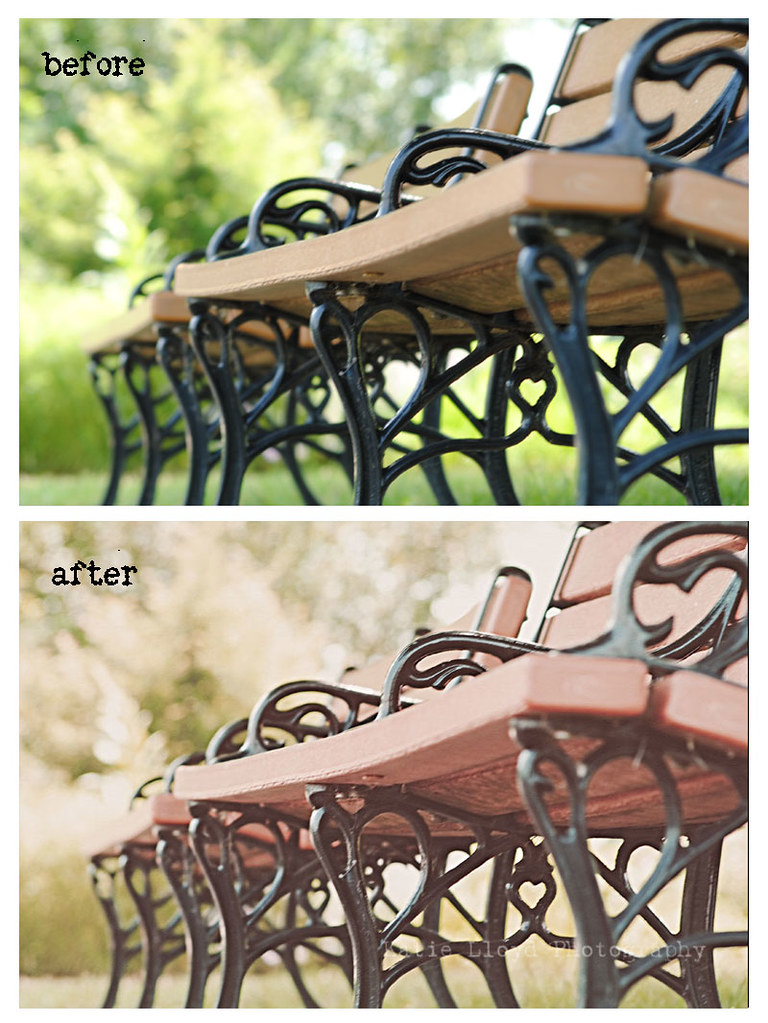
I've found that the recompose tool works best when there is ample negative space in a photo. It will still work with other shots, but know that some things may be shortened, etc.


 and then, she {snapped}


Thursday, February 3, 2011

Blizzard Edit

Yep...I went out in the midwest blizzard!
And it was awesome.


Before:
ligh-poles-in-blizzard-wm


After:
Lights in a Blizzard


ligh-poles-in-blizzard-wm Lights in a Blizzard


I use PSE 8 to edit and here's what I did:

Step 1. Make a duplicate layer and set opacity to multiply.
Step 2. Add a bokeh overlay and set opacity to color burn.
(I achieved the dark lines around the poles because of dark spots in the bokeh overlay)
Step 3. Marge visible and lower saturation about 50%.
Step 4. Added a new layer, then used a star brush to add an orange snowy-starburst effect to the lights. Then I set the opacity of this new layer to overlay.
Step 5. Merge visible once more and crop to 8x10.


and then, she {snapped}

Thursday, January 13, 2011

Winter Beauty


Snowy Butterfly Bush

We finally got our gorgeous 5"+ snowfall over the weekend, so I donned my snow gear and headed out our back door.
This is our butterfly bush, apparently ready for spring.

Beauty is the theme this week at This Life is Sweet, pretty fitting I think.

AngelButton2


***


Fence

This is the 'doorway' to our backyard.
As you can see, there was already a good amount of snow on the ground and more coming down.
Keep scrolling to see how I edited this shot.

Photobucket


***

Are you kidding me?!?!
I won again - for the second week in a row - at Pixel Perfect for my Bleeding Hearts shot last week.
Talk about craziness!
I believe a big, huge THANK YOU to Monica and those who voted for me is in order!


Before:
gate-sooc-wm


After:
Fence


gate-sooc-wm Fence

I have found that my shots of snow falling are much better when I switch my camera to manual focus. Since it's impossible to focus on snowflakes as they fall, I guesstimate where I should focus, shoot and adjust accordingly.


I use PSE 8 to edit and did the following:

Step 1: Ran Paint the Moon's Jubilee action.
(hello. my name is katie and i'm addicted to jubilee)

Step 2: Added Kim Klassen's Grey Day Slate texture, set opacity to around 20%.

Step 3: Cropped to 8x10.

and then, she {snapped}


***


faces-on-window-wm


Faces pressed against the glass,
inside and warm,
watching Mommy tromp through the snow with her camera.


Simple BPM


LinkWithin

Related Posts Plugin for WordPress, Blogger...